Planting a tree is a rewarding endeavor, and the Bur Oak (Quercus macrocarpa) is an excellent choice for those looking to add a majestic, long-lasting tree to their landscape. Known for its massive size, deep roots, and impressive acorn production, the Bur Oak is a resilient species that thrives in a variety of climates. If you’re considering planting one, fall is one of the best times to do so. The cooler weather will give the tree a strong start before winter sets in.
Here’s a comprehensive guide to planting a Bur Oak tree in the fall:
Why Fall Is the Best Time for Planting
Fall provides ideal conditions for tree planting because:
- Soil temperatures remain warm enough to encourage root growth even after the air cools down.
- Reduced heat stress means that trees won’t have to work as hard to maintain water levels.
Step-by-Step Guide to Planting a Bur Oak Tree
1. Choose the Right Location
Bur Oaks are large trees, often growing up to 80 feet tall with a canopy spread of 70-80 feet. So, it’s important to:
- Ensure plenty of space: The tree needs room to grow without interference from buildings, other trees, or power lines.
- Consider sunlight: Bur Oaks thrive in full sun, so choose a spot with at least 6 hours of direct sunlight each day.
- Check soil type: Although they are tolerant of different soil conditions, Bur Oaks prefer well-drained soil. If your soil is heavy clay, consider amending it with organic matter to improve drainage.
2. Prepare the Planting Site
Once you’ve chosen the right spot:
- Dig a hole that is 2-3 times wider than the tree’s root ball but only as deep as the root ball itself. This encourages the roots to spread outward.
- Loosen the soil at the bottom and sides of the hole to prevent compaction and help the roots take hold.
3. Planting the Bur Oak
- Remove the tree from its container or burlap wrapping gently. Avoid pulling the tree by its trunk to prevent damage.
- Place the tree in the hole, ensuring that the top of the root ball is level with the surrounding ground. Planting too deep can suffocate the roots, while planting too shallow can expose them to the elements.
- Backfill the hole with the soil you dug up, breaking up any large clumps as you go. Tamp the soil down lightly to remove air pockets, but don’t compact it too much.
4. Water the Tree
After planting, give your Bur Oak a thorough watering. This helps settle the soil and ensures the roots have enough moisture to start growing.
- Water deeply to soak the entire root zone. Aim to keep the soil moist but not waterlogged in the weeks following planting.
- Mulching: Apply a 2-3 inch layer of mulch around the base of the tree, extending to the edge of the drip line (where the canopy reaches). This helps conserve moisture, suppresses weeds, and insulates the roots during colder months. Keep the mulch a few inches away from the trunk to avoid rot.
5. Stake if Necessary
If your Bur Oak is top-heavy or planted in a windy area, you may need to stake it. Use soft ties to avoid damaging the bark, and remove the stakes after the first year once the tree is established.
6. Monitor and Care
- Water regularly during the first year, especially during dry spells. In the fall, nature usually provides enough moisture, but make sure the soil doesn’t dry out.
- Avoid fertilizing at the time of planting. Bur Oaks don’t need immediate fertilizer; too much can damage the young roots. Wait until the second year before applying any fertilizer, and even then, use it sparingly.
- Prune as needed: Remove any dead, damaged, or crossing branches, but leave major pruning for the dormant season (late winter).
Protecting Your Bur Oak During Winter
Since fall is planting season, your Bur Oak will face its first winter shortly after planting. To protect it:
- Keep it hydrated: Make sure your tree goes into winter well-watered to avoid stress.
- Guard against animals: Young Bur Oaks can be vulnerable to deer, rabbits, and other wildlife. Consider wrapping the trunk with protective tree guards or using mesh to keep animals from damaging the bark.
Enjoy Watching Your Bur Oak Grow
With the right care, your Bur Oak will establish its roots over the fall and winter months, and come spring, it will be ready to grow. Over the years, you’ll enjoy watching it develop into a grand tree that offers shade, beauty, and habitat for wildlife.
Planting a Bur Oak in the fall is not only an investment in your landscape but also a gift to future generations. With its long life span and hardiness, this tree will stand tall for centuries, reminding us of the beauty and resilience of nature. Happy planting!
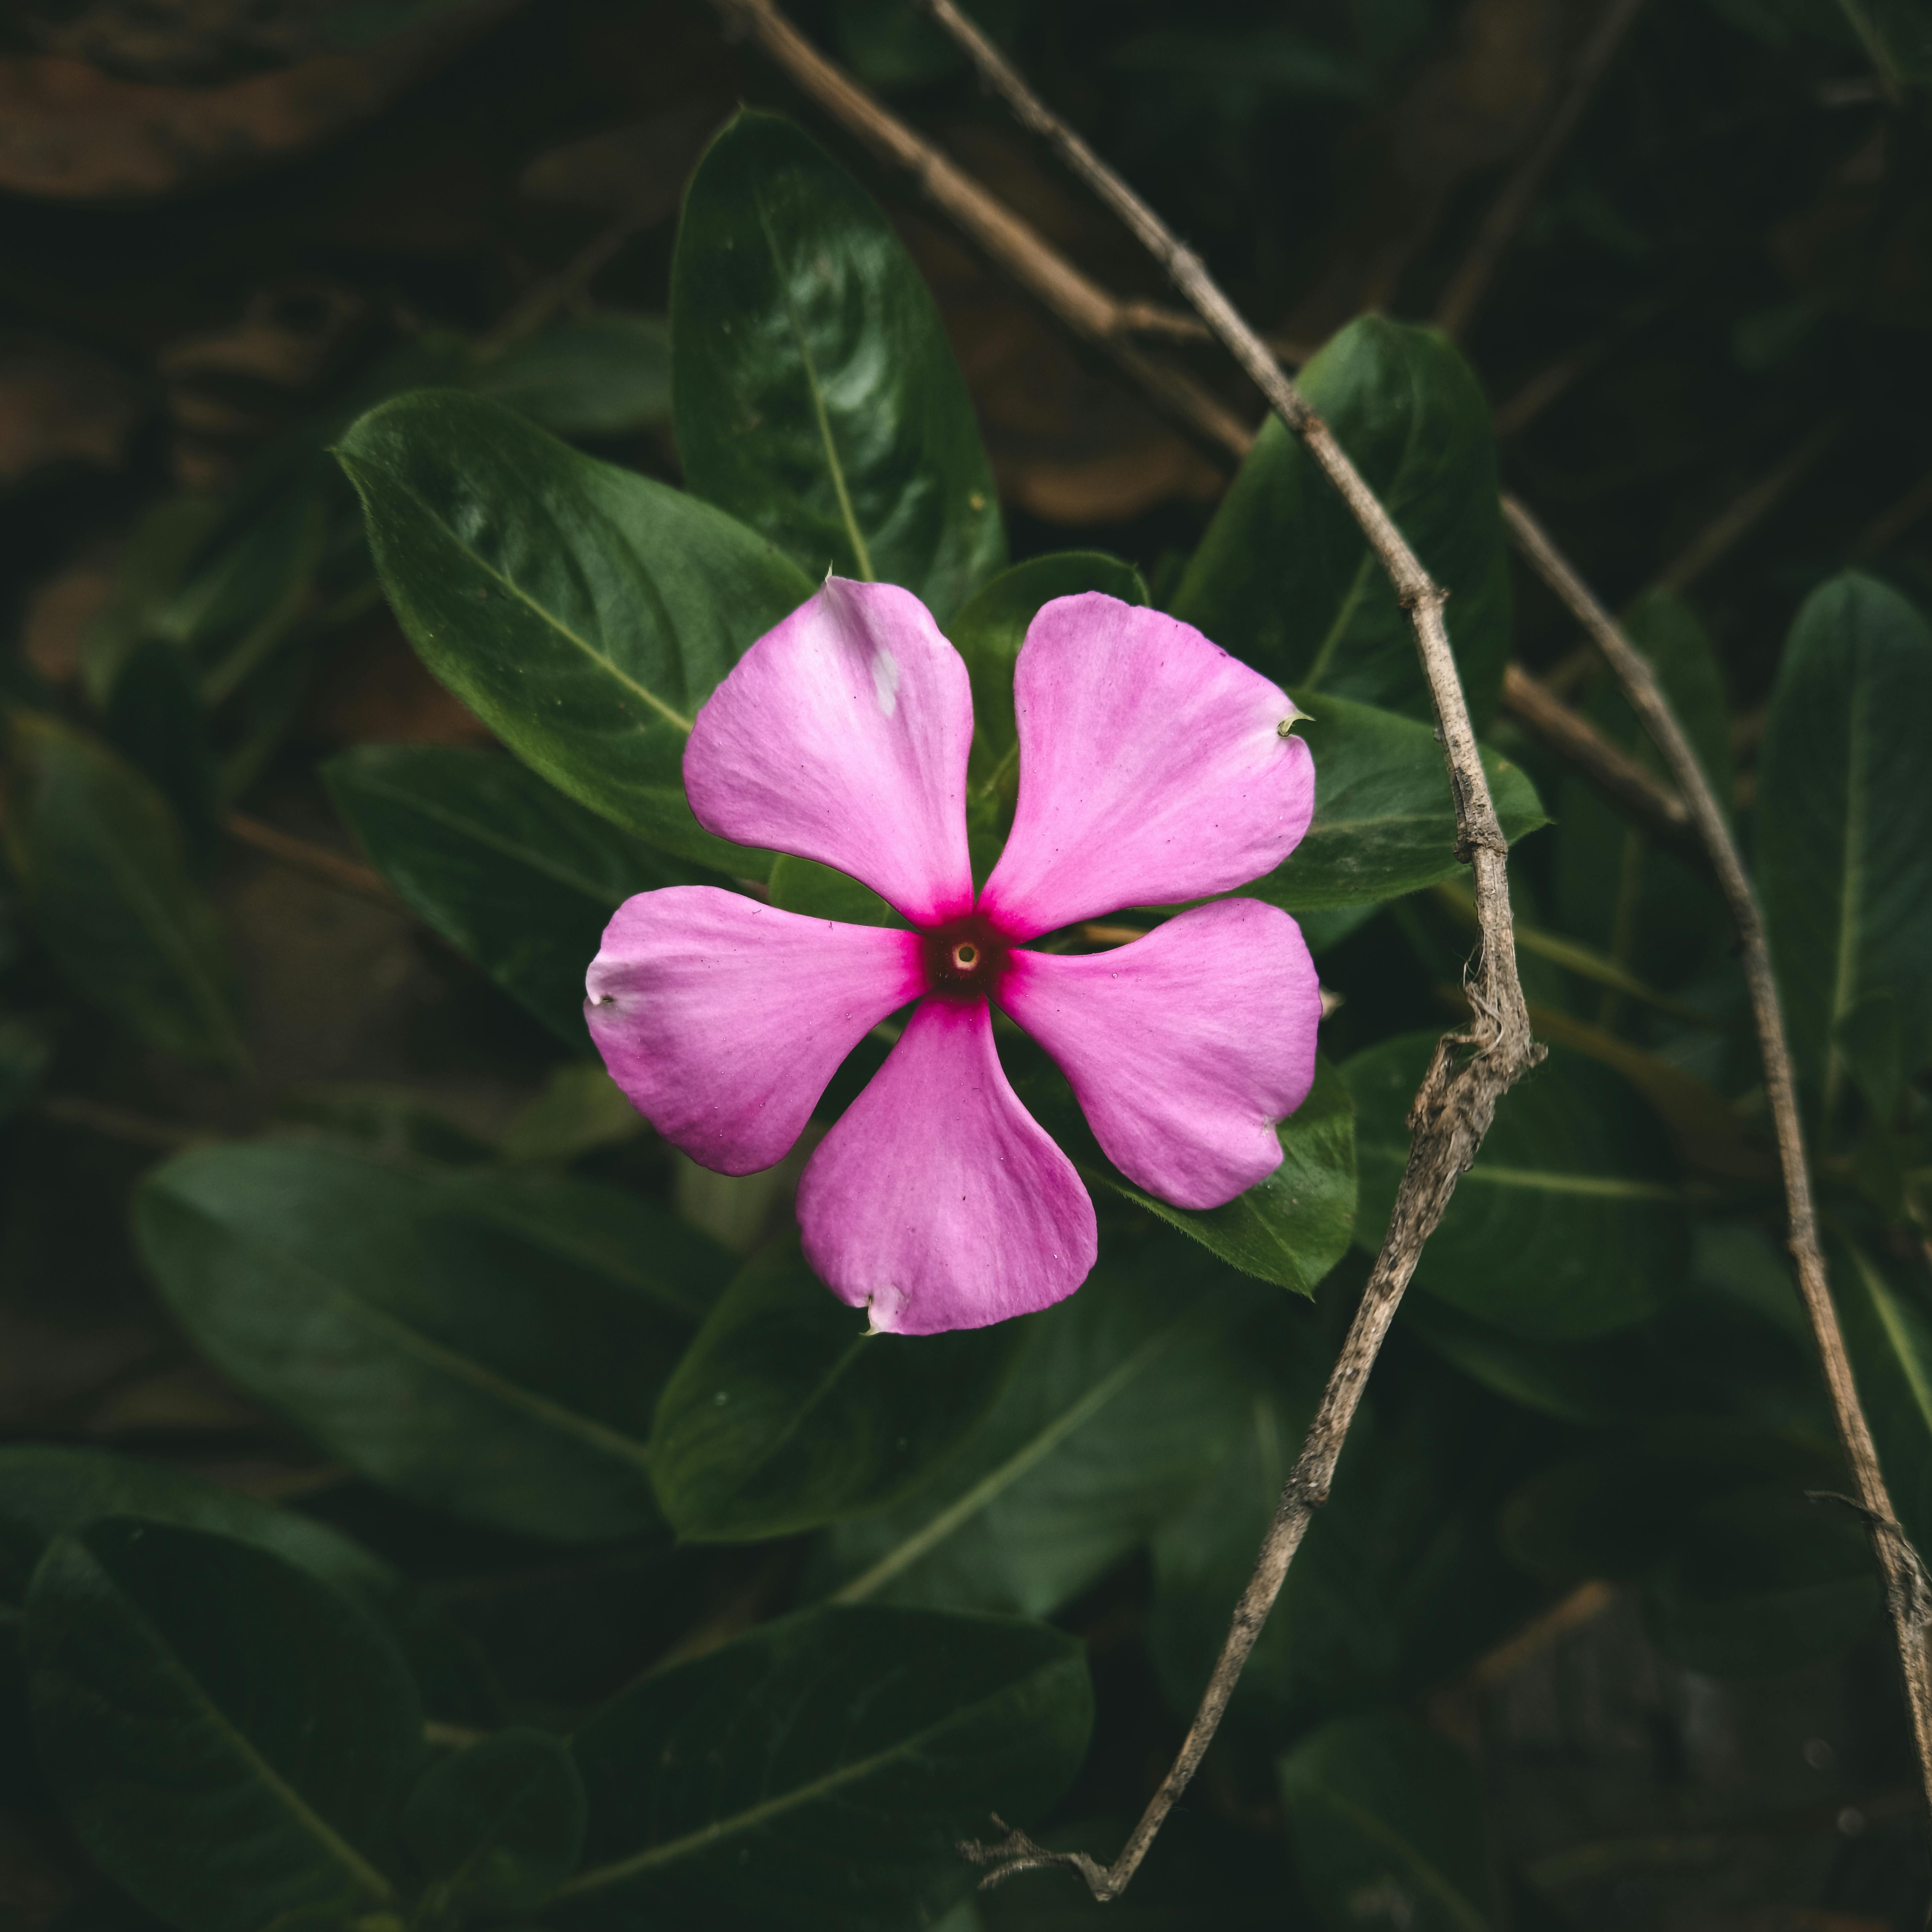
Beautiful Workhorse: The Madagascar Periwinkle
Madagascar periwinkle (Catharanthus roseus), also known as Vinca, is a beautiful, easy-to-care-for flowering plant native to Madagascar. Its glowing flowers and lush foliage make it a popular choice for gardens, landscapes, and even indoor pots. Here’s some tips you need to know to garden with this resilient plant naturally and keep it thriving!
You need to be aware the plant is highly toxic if ingested. Keep that in mind as you place this colorful and dependable flower in the annual beds. As gardeners we must analyze each plant for the benefits and detriments we are bringing to our gardens.
1. Choosing the Right Location
- Sunlight: Madagascar periwinkle loves full sun but can also tolerate partial shade. For best flowering, aim to provide at least 6-8 hours of sunlight daily.
- Temperature: This plant thrives in warm temperatures, ideally between 70-85°F (21-29°C). It is sensitive to frost, so if you live in a colder climate, consider growing it in pots that can be brought indoors during cooler months.
- Soil Requirements: Well-draining soil is essential for healthy periwinkle growth. Aim for a slightly acidic to neutral pH (6.0-7.0). If you’re unsure about your soil’s pH, organic soil test kits are widely available.
2. Soil Preparation
- Amendments: To enhance soil fertility and promote healthy growth, mix in compost, aged manure, or organic matter before planting. Madagascar periwinkles don’t require extremely rich soil, but improving drainage and aeration will benefit them.
- Mulching: Apply a layer of organic mulch around the plants, such as shredded leaves, bark, or straw. Mulch will help retain soil moisture, regulate temperature, and reduce weed competition.
3. Planting Madagascar Periwinkle
- Direct Sowing or Seedlings: You can start periwinkle from seeds indoors about 8-10 weeks before the last expected frost, or sow directly outdoors once temperatures have warmed up. Seedlings should be planted about 12-18 inches apart to allow for growth and airflow.
- Transplanting: If you’re transplanting young plants, gently remove them from their containers, taking care not to disturb the roots, and place them in prepared holes. Water thoroughly after planting.
4. Organic Watering Techniques
- Watering Schedule: Madagascar periwinkle is relatively drought-tolerant once established, but consistent moisture is key, especially during the growing season. Water deeply once or twice a week, depending on the weather.
- Watering Tips: To prevent fungal diseases, water at the base of the plant rather than overhead. Early morning watering is best to allow the soil to dry out before nightfall.
5. Natural Fertilization
- Compost Tea: Feed periwinkle with a compost tea or diluted organic fertilizer once a month during the growing season. A balanced fertilizer, such as a 10-10-10 blend, is ideal.
6. Pest and Disease Management
- Common Pests: Aphids, spider mites, and whiteflies may occasionally visit Madagascar periwinkle. A gentle spray of water can dislodge these pests. If needed, an organic insecticidal soap or neem oil spray can also help control infestations.
- Disease Prevention: This plant can be prone to root rot and fungal diseases, especially in humid conditions. Proper watering techniques and good airflow will minimize these issues. If fungal issues do occur, consider using a homemade baking soda spray (1 teaspoon baking soda in 1 quart of water).
7. Pruning and Maintenance
- Deadheading: Remove spent blooms regularly to encourage continuous flowering. This also helps prevent the plant from diverting energy into seed production.
- Pruning: Light pruning in the early spring will encourage bushier growth and maintain an attractive shape. Trim any leggy or damaged stems as needed.
- Self-Seeding: Madagascar periwinkle can self-seed, which is great if you want to let the plant naturally spread in the garden. However, be aware that it can become invasive in some areas, so keep an eye on any unwanted seedlings.
8. Winter Care
- Bringing Indoors: If you live in a region with frost, Madagascar periwinkle should be brought indoors during the winter. Place it in a sunny spot, and reduce watering to allow the plant to rest.
- Overwintering Outdoors: In warmer climates, a thick layer of mulch around the base can help protect periwinkle during cooler months. Prune the plant back in late fall and water sparingly until spring.
Reference Page
- The SouthernLiving Garden Book, 1998: Pub. Oxmoor House, pg. 169
- Online: Wikipedia, “Catharanthus roseus”
- Online: North Carolina Extension Gardener Plant Toolbox, “Caranthus roseus”
- Online: Texas Tech University Plant Resources, “Vinca, Madagascar Periwinkle”
- Online: Lady Bird Johnson Wildflower Center Plant Database: “Quercus macrocarpa:
- Online: The Masters of Horticulture: “The Bur Oak (Quercus macrocarpa), by Morgan McBride
You never quite know what you do in life that leaves a seed behind that grows into an oak tree.
Michael Portillo